Perler Beads Project

SHARE
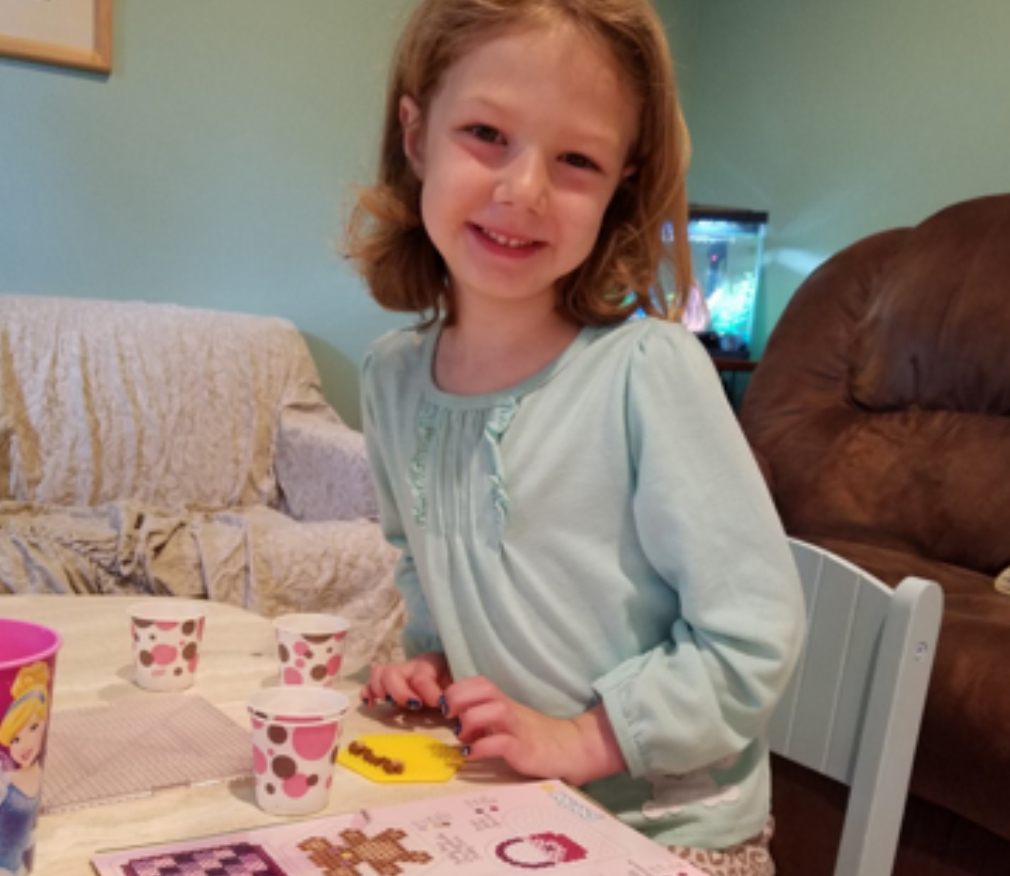
This project is great for school age children and mama’s a like. It is a fun stationary project that only takes a little bit of energy from mama and child. Children love putting them into different shapes and playing with them after!
Special thank you to: Jessica, Wellness Mama of 2 sweet girls, Minneapolis, MN for doing this great activity with her daughter.
WHAT YOU NEED:
Perler™ Beads or equivalent
Perler™ boards
Design idea
Iron Paper/parchment paper
Iron
Small paper cups (optional – but recommended)
Tweezers (optional)
Small spoon (optional)


DIRECTIONS
1 Choose design you want to do
2 Pick appropriate board for the design
3 Choose the colors you want for your design (Some design books will tell you how many beads of each color you need)
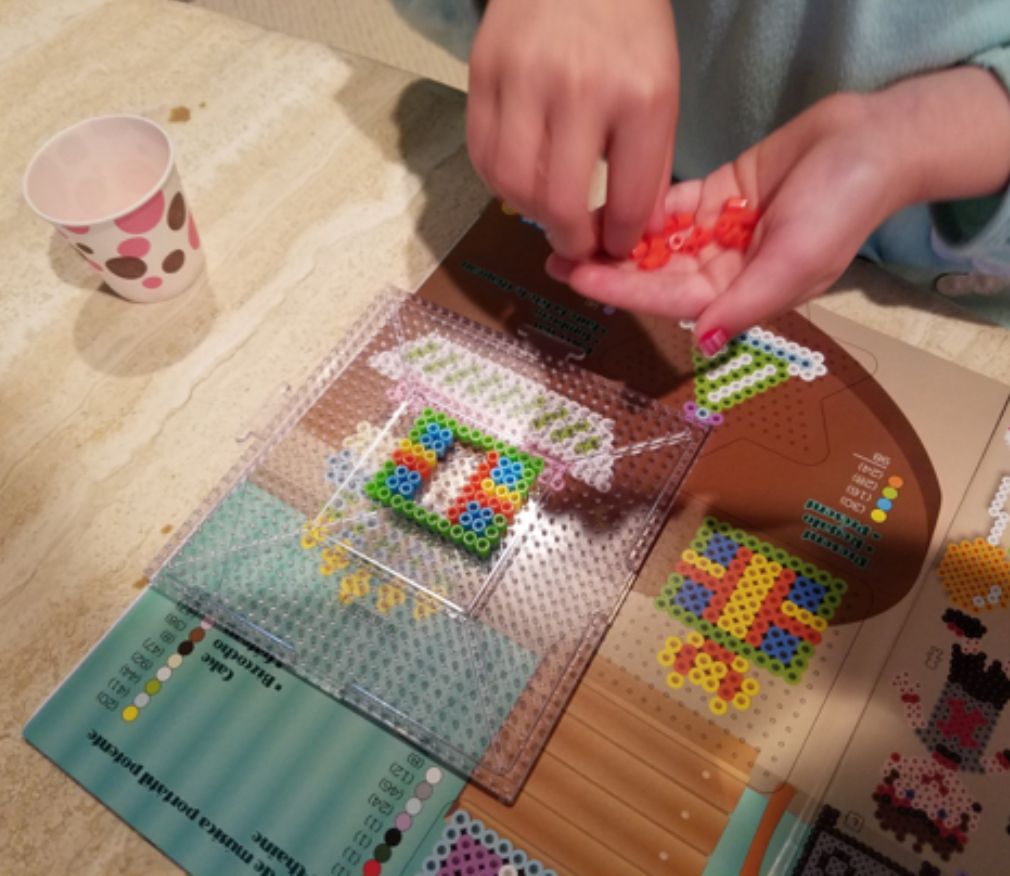
4 Use the small spoon and spoon each color into a separate mini paper cup. This helps keeping the colors separate (If that’s how your beads are, some kits come mixed together – my OCD goes crazy!)
5 Start at the point in the design that makes the most sense/easiest to start with.
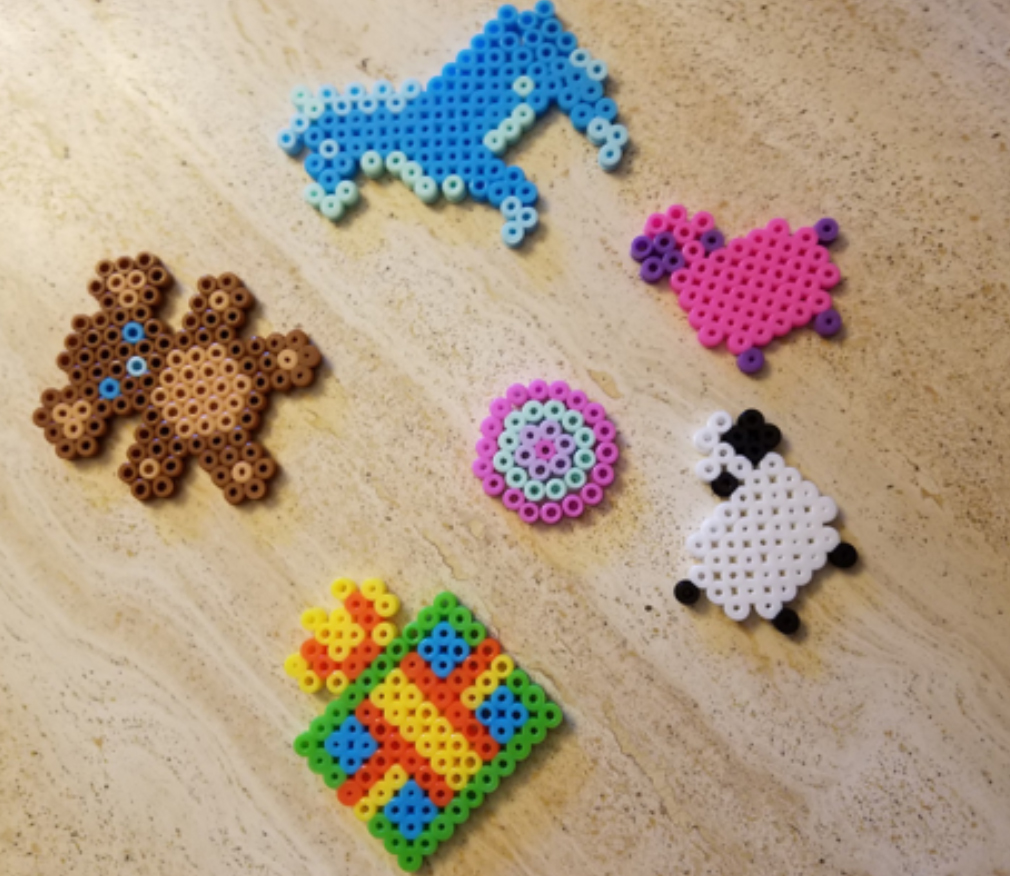
6 Sometimes this is at the bottom, or the side or top, all depends on the design. The bear in the picture my daughter and I started at the top, the donkey at the bottom, the circle the outside ring, you get the idea.
7 Place each bead on a peg and keep going until the design is complete
8 While doing your child is doing the beads, you can turn on your iron to heat up. My iron I had to have on a high setting, other videos and books I have read it varies on your iron. If you are new to this activity I suggest doing a couple of small circles or other designs that do not take a lot of time or beads to do trial runs. (I had trouble with the legs of the donkey and sheep
9 Carefully move the board to the space where you will be ironing.
10 Place the board on the table or other flat surface
11 Place a piece of ironing paper or parchment paper over the top of the beads. Make sure it’s enough to cover over all the beads and a border all the way around
12 Iron in circular motion for 20-30 seconds (or as needed based on your iron)
Tips: Always keep the iron moving. Do not push too hard – my first one was uneven because I pushed too hard on one side.