
Toddler Apron
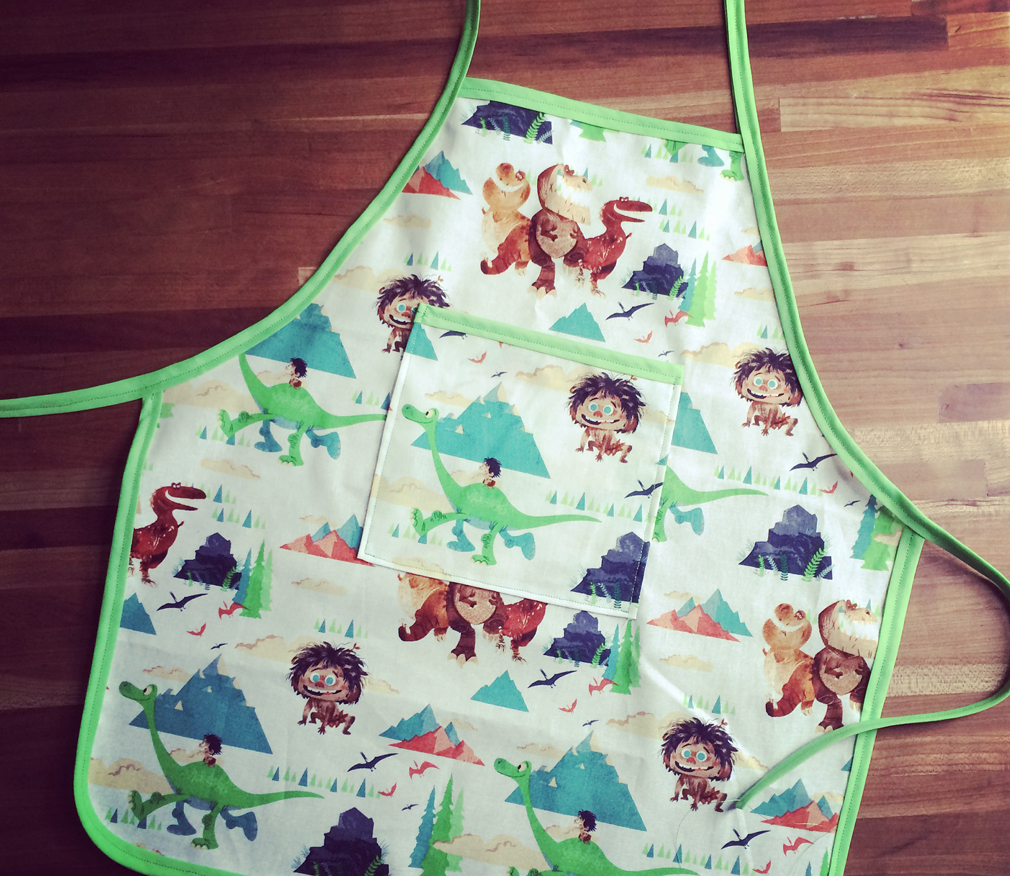
What better way to encourage cooking and science projects as sewing your very own apron. Depending on the age of your child you choose their helping level. My son is four years old, so he picked his own fabric and helped put the pattern pieces together, and pin it. I did the sewing while he observed. This is a quick project for some bonding fun!
WHAT YOU NEED:
1/2 Yard Fabric of your choice.
4 Yards of Bias Tape – Wide Single Fold
Thread
Pins
Sewing Machine or Needle
Access to a Printer
SHARE

DIRECTIONS
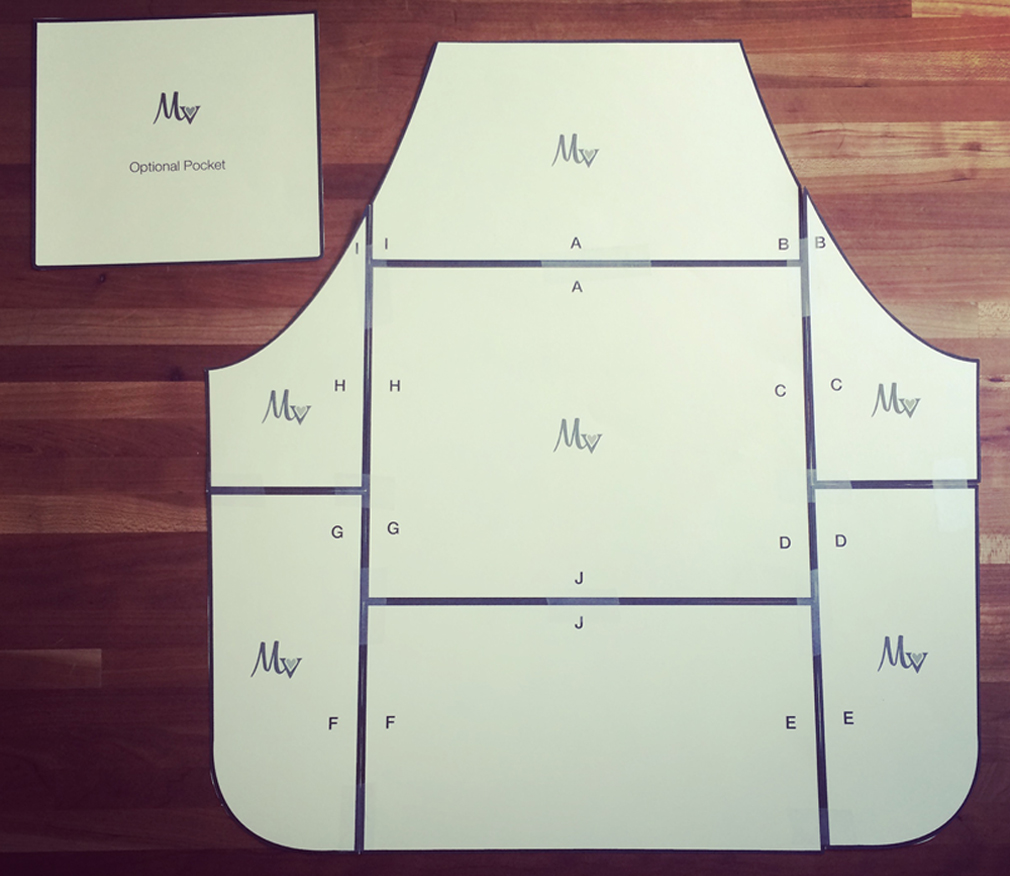
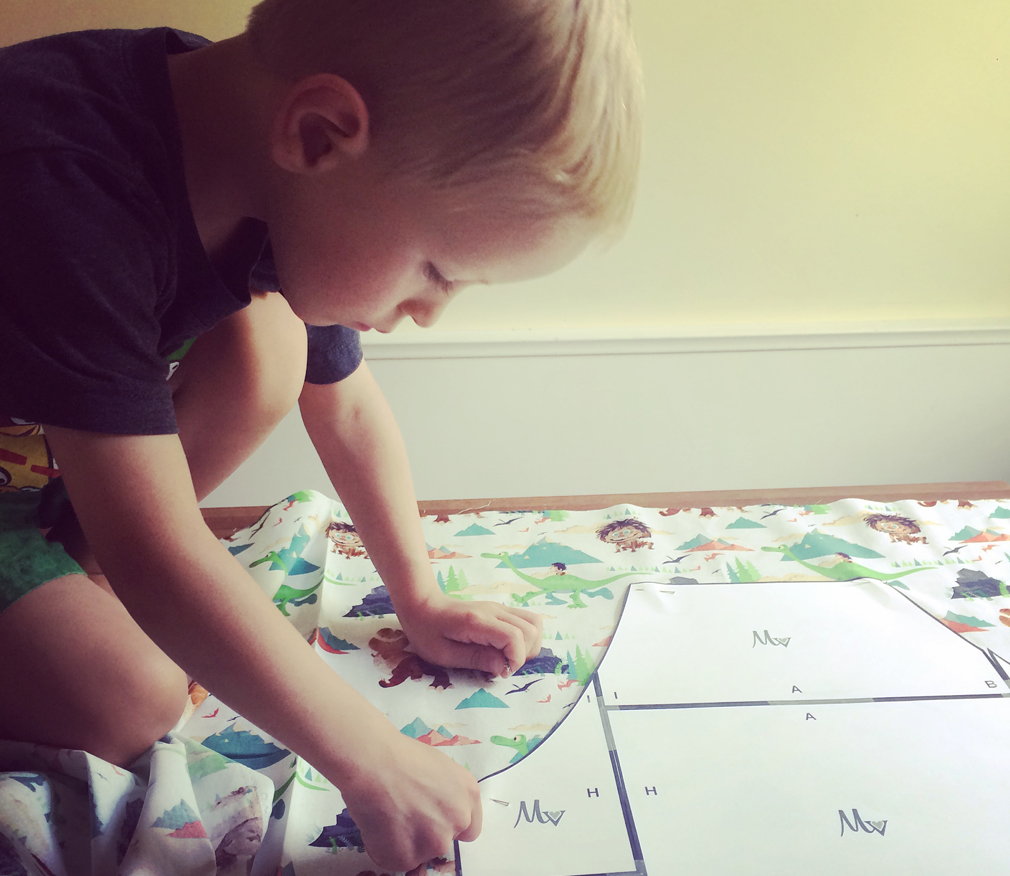
1 Create the Pattern. Print this PDF, tape the pieces together. Hold the pattern up to your toddler to ensure it will fit.
2 Pin the pattern to the fabric and cut it out.
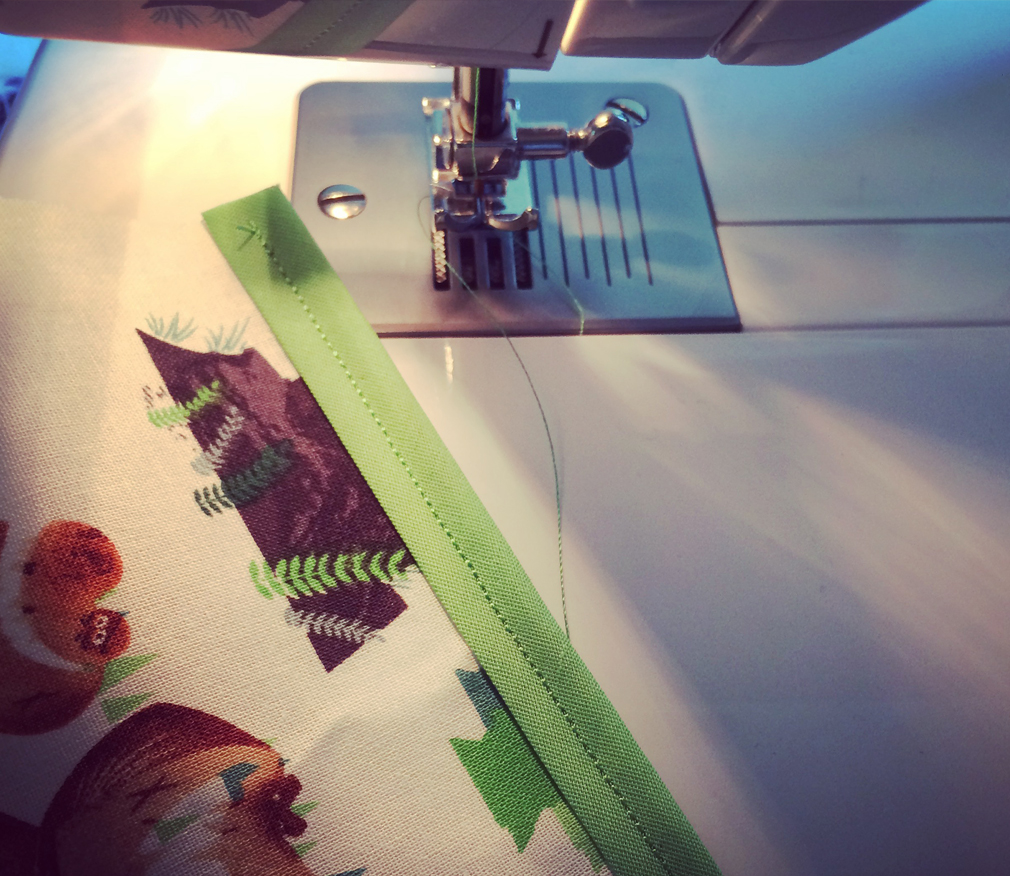
3 Cut the first strip of the Bias Tape to the top edge of the apron, sandwich the apron fabric between the bias tape and sew it on. This creates a nice easy edge. (If you are new to sewing, be sure to do a reverse stick at the beginning and end of all stitches so the stitch doesn’t unravel).
4 Fit and cut the Bias Tape from one side, around the bottom and up the other side, sandwich fabric and sew.
5 Next if you are doing the optional pocket, fit and cut the Bias Tape on the top edge of the pocket. Sandwich the fabric, sew the top edge and set aside.
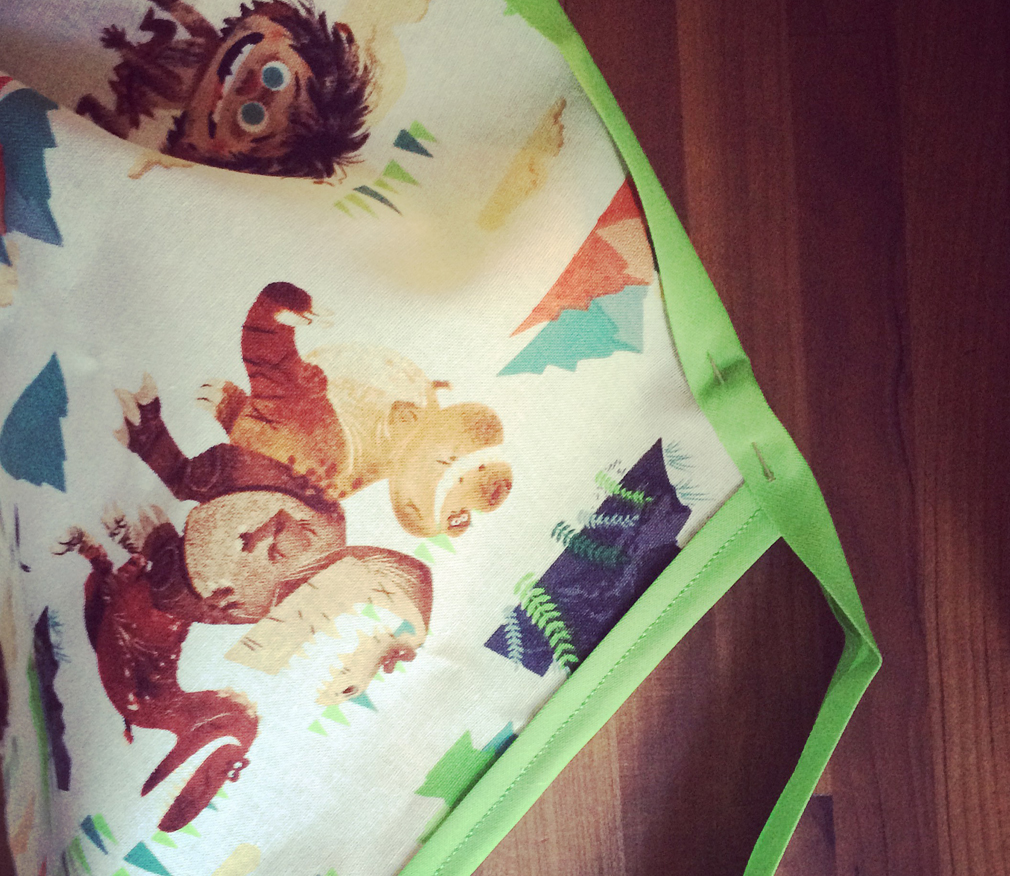
6 Take the remaining Bias Tape and cut it to length, measuring on your child, this makes the waist tie, armpit edge and the neck tie for both sides. Fold the ends of the tape into itself then fold it as usual. Start stitching, as you near the armpit area sandwich the apron fabric in-between the Bias Tape and keep sewing all the way through to the other end, being sure to fold the ends of the tape into itself at the other end for a nice clean finish.
7 Optional Pocket, place the pocket on the apron, folding the raw edges of the fabric under and simply stick the three remaining sides, adhering it to the apron.
8 Bake something amazing!
Check out the waist apron! So you and your child can have matching aprons.